Deploying a Hugo Blog with GitHub Actions

Contents
We already can use Travis-CI and Netlify to build and deploy Static Sites, Today we introduce a new way to automate and customize your workflows–GitHub Actions. But we’re just scratching the surface of what GitHub Actions can do. Once you get started, you’ll be able to build, package, release, update, and deploy your project in any language—on GitHub or any external system—without having to run code yourself.
Sign up for the limited public beta of GitHub Actions
Step-by-step Instructions
(1) Creat a new <username>.github.io repository
This’s the repository that will contain the fully rendered version of your Hugo website.For [User and Organization Pages sites] (<username>/<username>.github.io repository), we have to set master branch as our publishing branch.
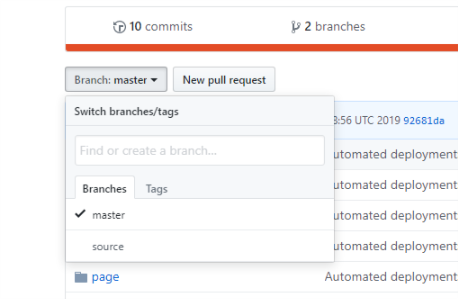
We should creat a new branch named ‘source’ to store all markdown codes for blog.
(2) Add SSH deploy key
Generate your deploy key with the following command.
| |
note: On Windows, we can use Git Bash, which is the Git command line too.
Next, Go to Repository Settings
- Go to Deploy Keys and add your public key with the Allow write access
- Go to Secrets and add your private key as
ACTIONS_DEPLOY_KEY
| Add your public key | Success |
|---|---|
 | 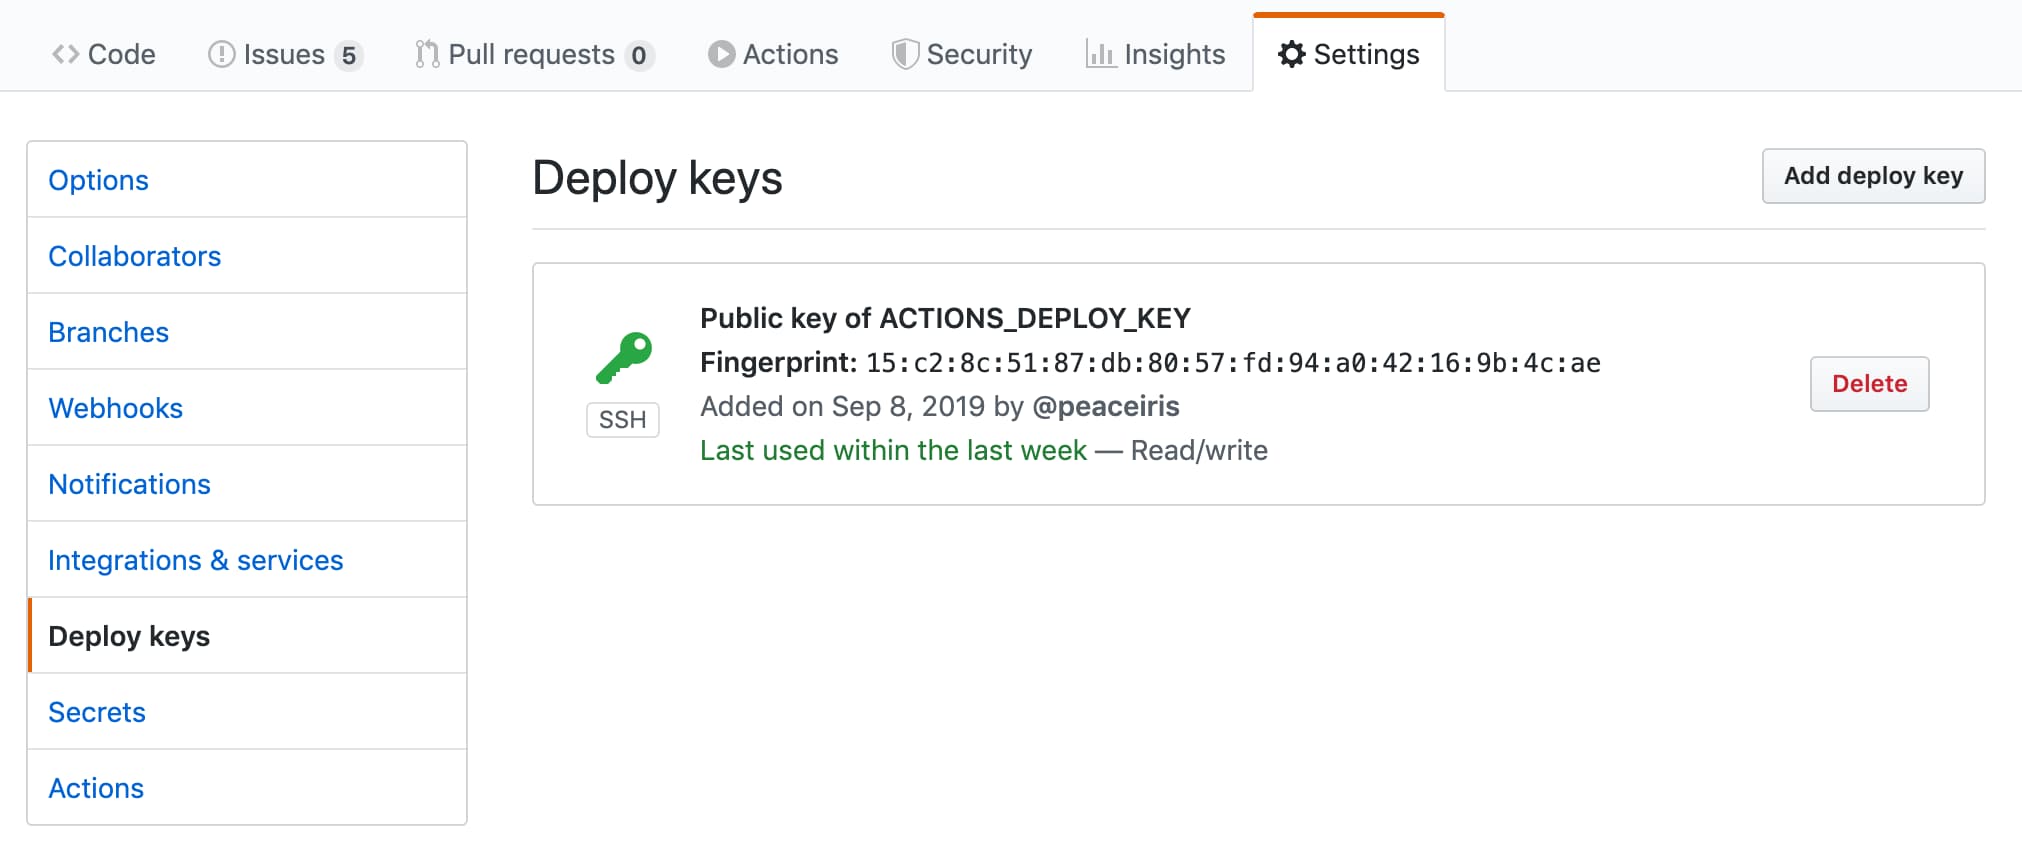 |
| Add your private key | Success |
|---|---|
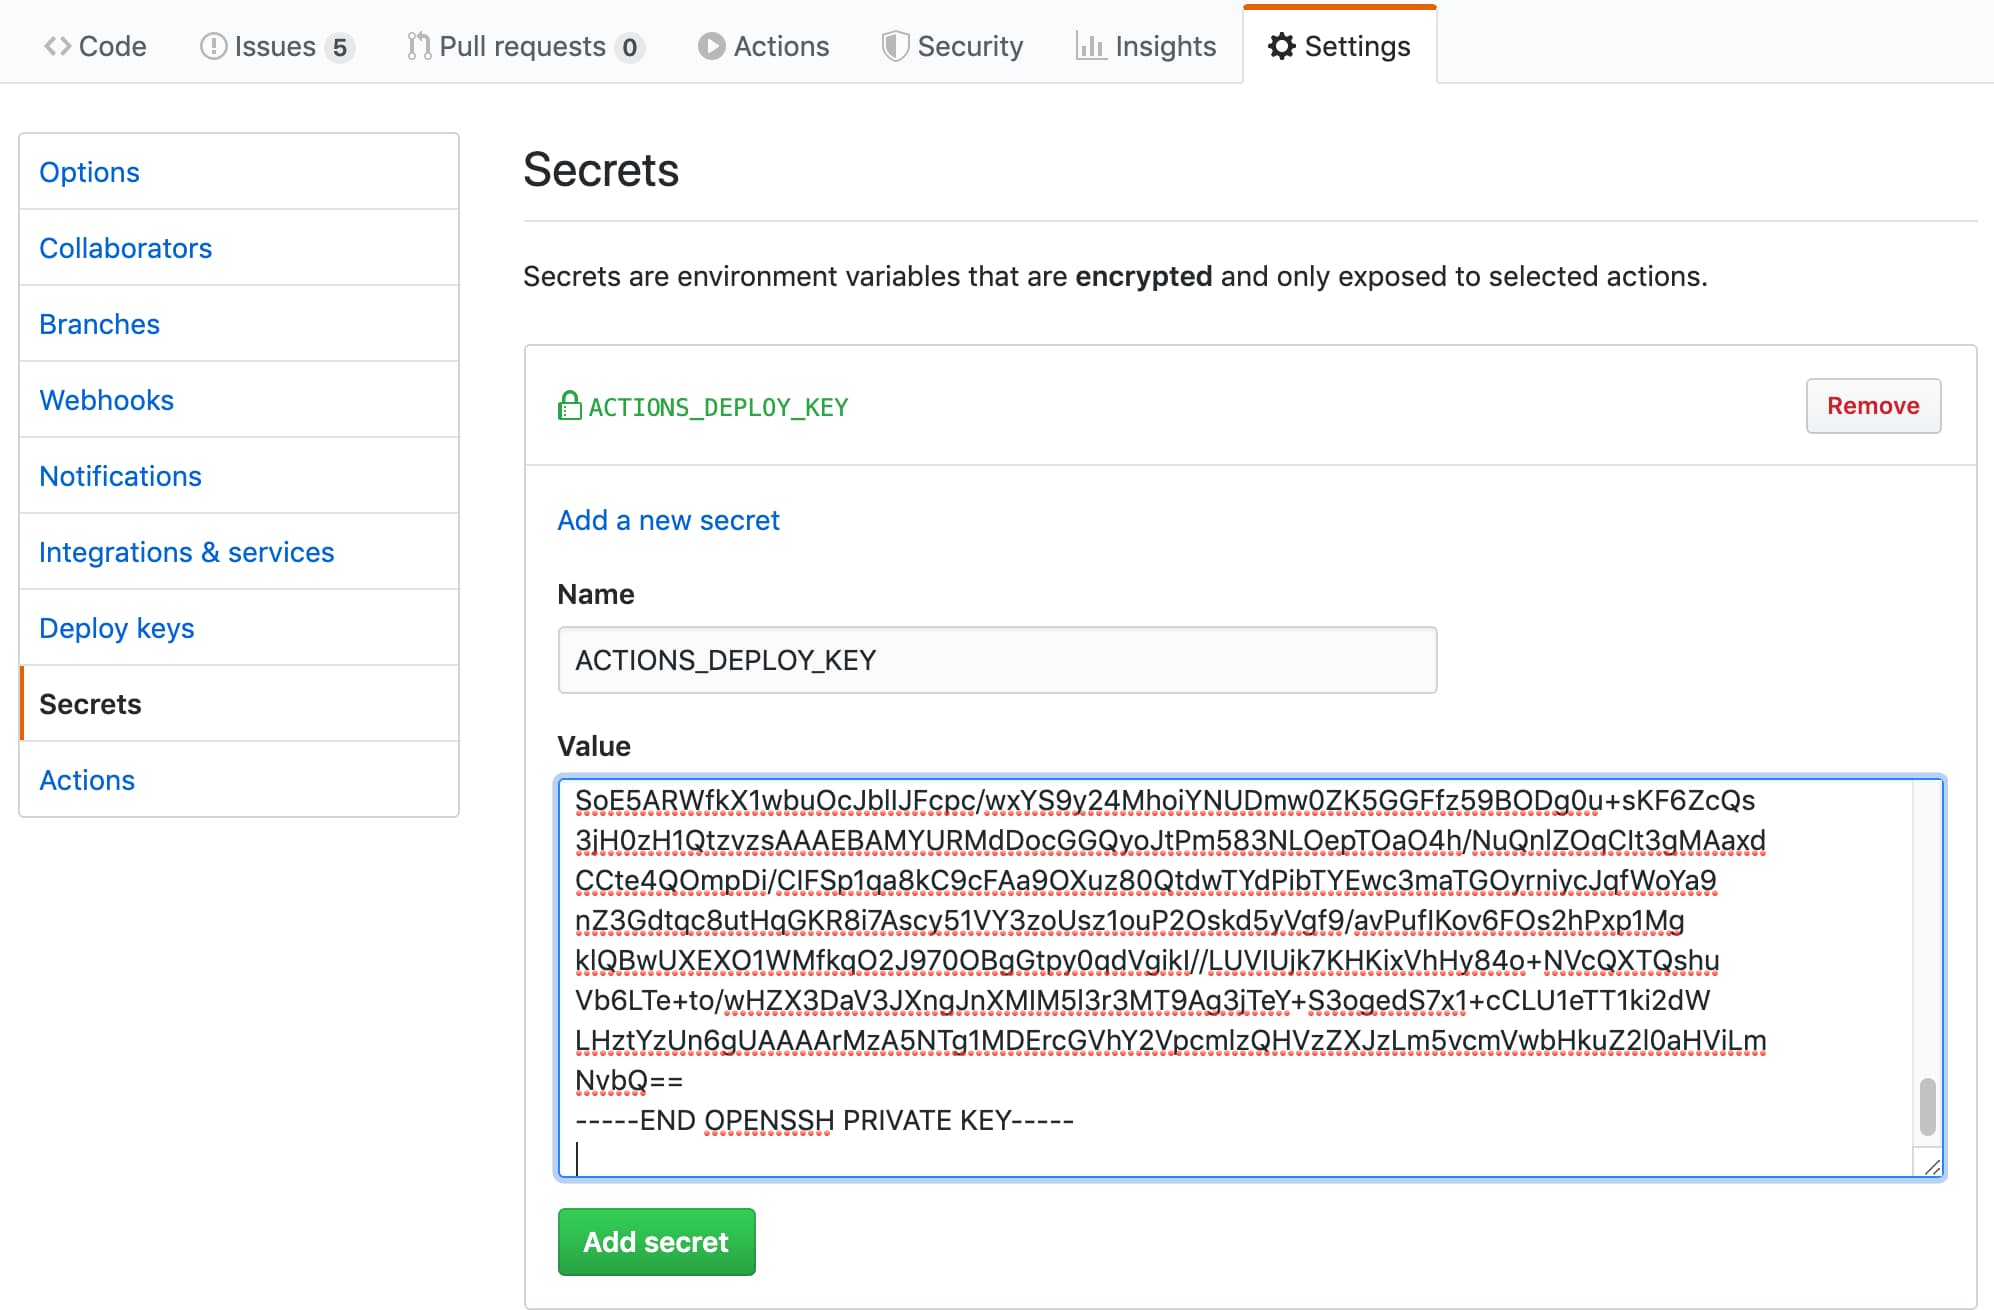 | 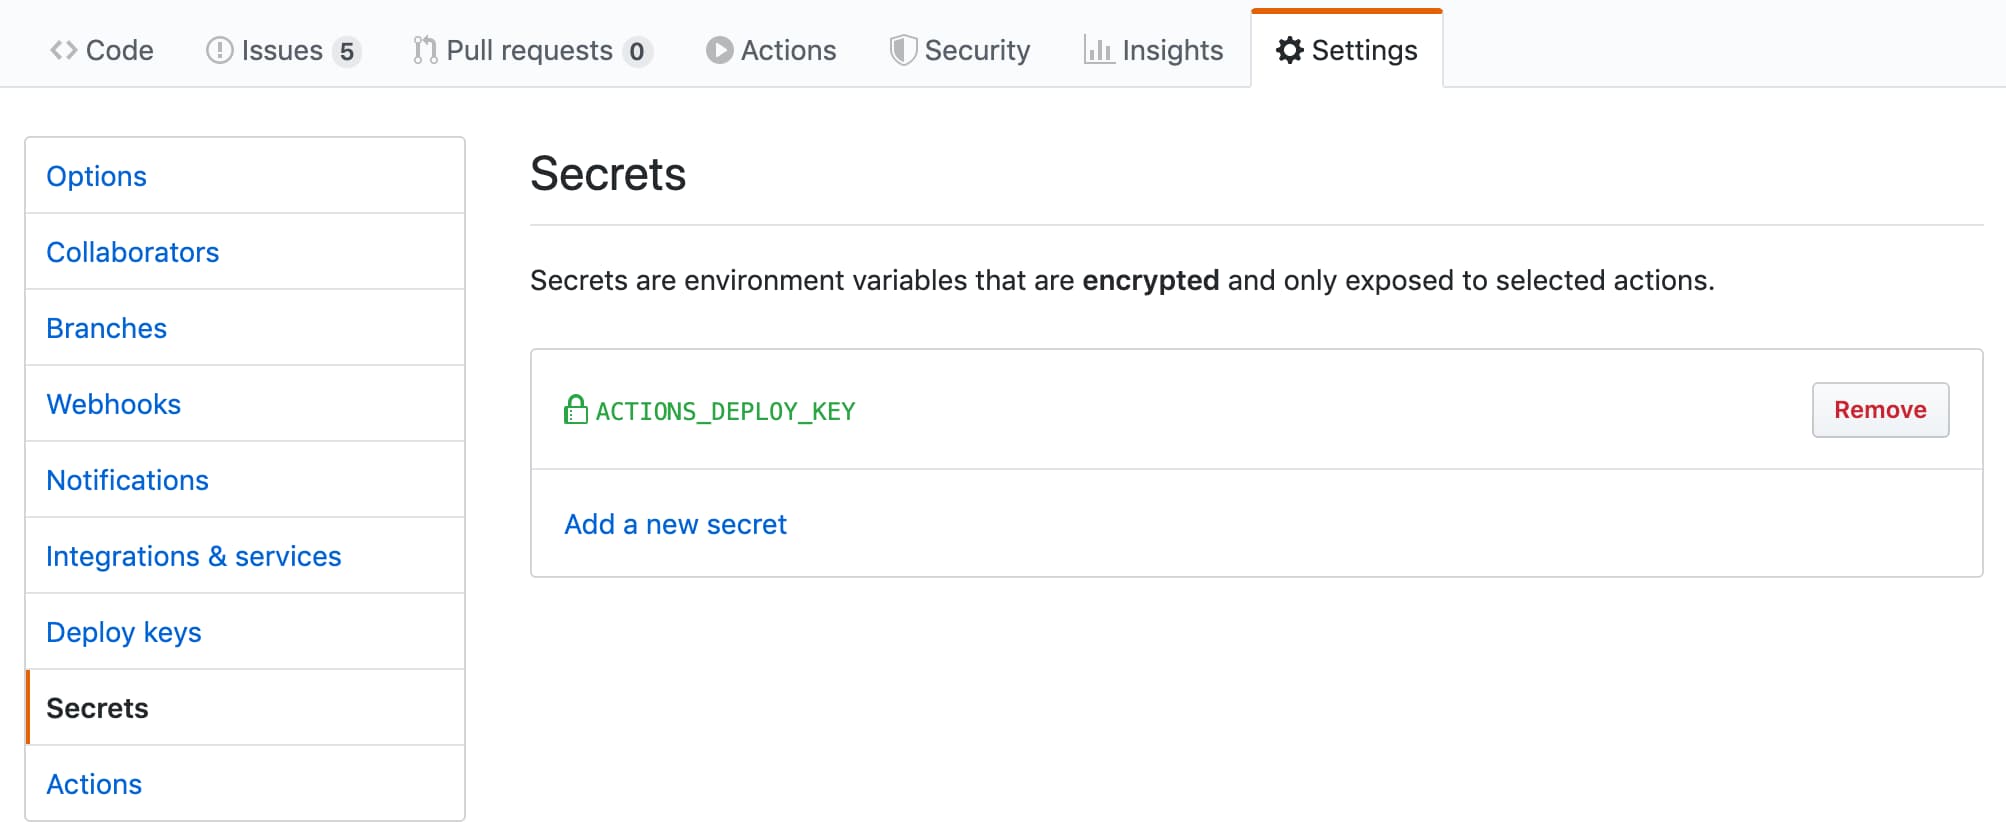 |
(3) Create your workflow
Add your workflow setting YAML file .github/workflows/main.yml and push to the source branch.
We can refer to the following project, and make some modifications.
⭐️ Repository type - Project
An example workflow for Hugo.


Add a .github/workflows/main.yml file with content like the following:
| |
Note:
1.push on ‘source’ branch will trigger the workflow,fina/ly publish on ‘master’ branch.
2.If you want the action to add new files but leave existing ones untouched, set the optional parameter keepFiles to true.
That’s it. See the action.yml file for more information on the available configuration options.
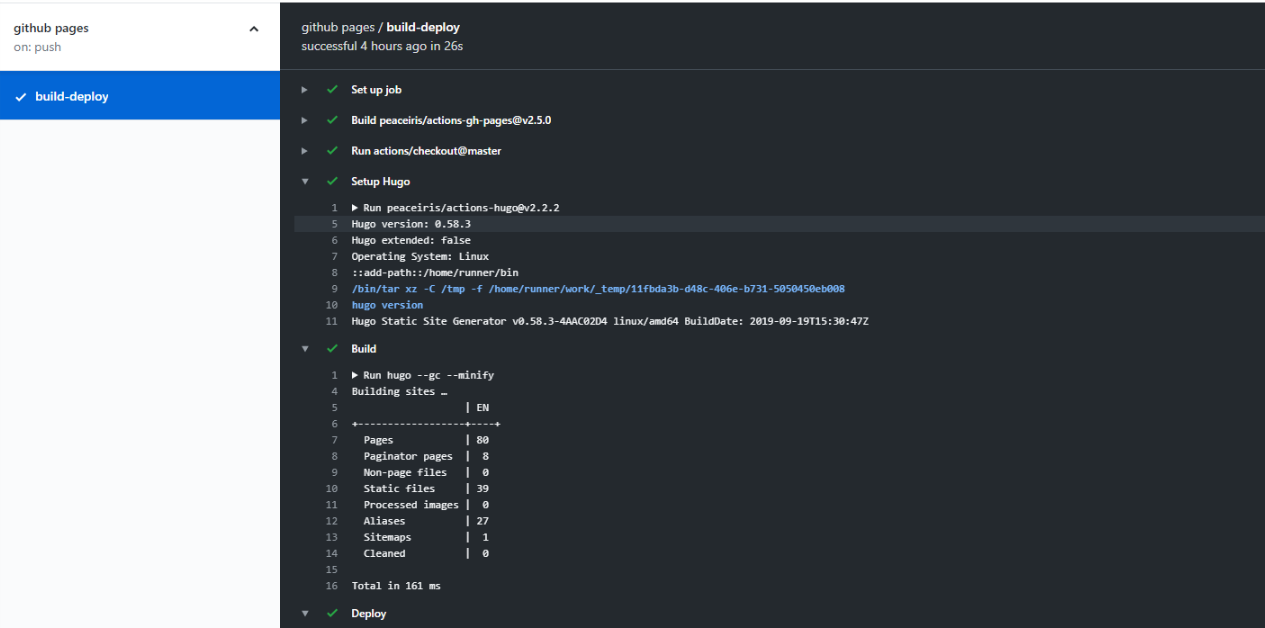
(4) Build and Deployment
 |
|
Summary
At this point, We have everything setup to automatically build and publish your site whenever you push to master. Happy blogging!
Author Canary
LastMod October 23, 2019